Here is another piece I acquired over a year ago, via Craigslist. A cute, reproduction Queen Anne style cherry vanity.
Ok, so that's not a picture of the vanity. BUT, it is the bench that came with it! Sadly, one of the legs splintered at the bolt point, so it's been relegated to the "Things I need to fix someday" pile. You get the idea. Shiny, red, curvy. Cute, but not quite my style. For $20, I knew I could (eventually) make it me.
Here we go again with the fast forwarding. This cutie lived in my room, functioning as a too-short computer desk for almost 2 years. Her drawers were full of junk, and her lid never lifted. Poor thing!
Anyway. I pulled her downstairs and got to work. THREE, yes, 3! coats of stripper later, the laquer was gone.
It wasn't pretty people. I ended up scraping, and VERY lightly sanding the top, because that veneer was the thinnest I've ever come across. The legs were easier. Because I planned to use the same DIY chalk paint I used here, I didn't need to do more than give them a quick scuff with some 60-grit. And get creative with drying solutions...
Why yes, that is the frame of our gazebo. And the ugly back of the BBQ. And the trash bins. Keeping things real peeps. Keeping it real.
Soooo, I stained the top my go-to mix of Minwax stains. Don't ask how much of each, because it really was a mad-scientist sort of mixing that happened. I couldn't perfectly replicate it if I tried!
I wanted to do a fun treatment on the edge, and remembered that I had some Chevron FrogTape(r) Shape Tape from another project. I just laid it down and burnished the edge really well (in some places and not so well in others!). This is what I ended up with:
Cute, no? I haven't quite decided what to do about the hardware, so I just re-installed the old and called it a day. I love how the paint bled and chipped a little across the edges of the tape, giving me a bit of that vintage vibe I love.
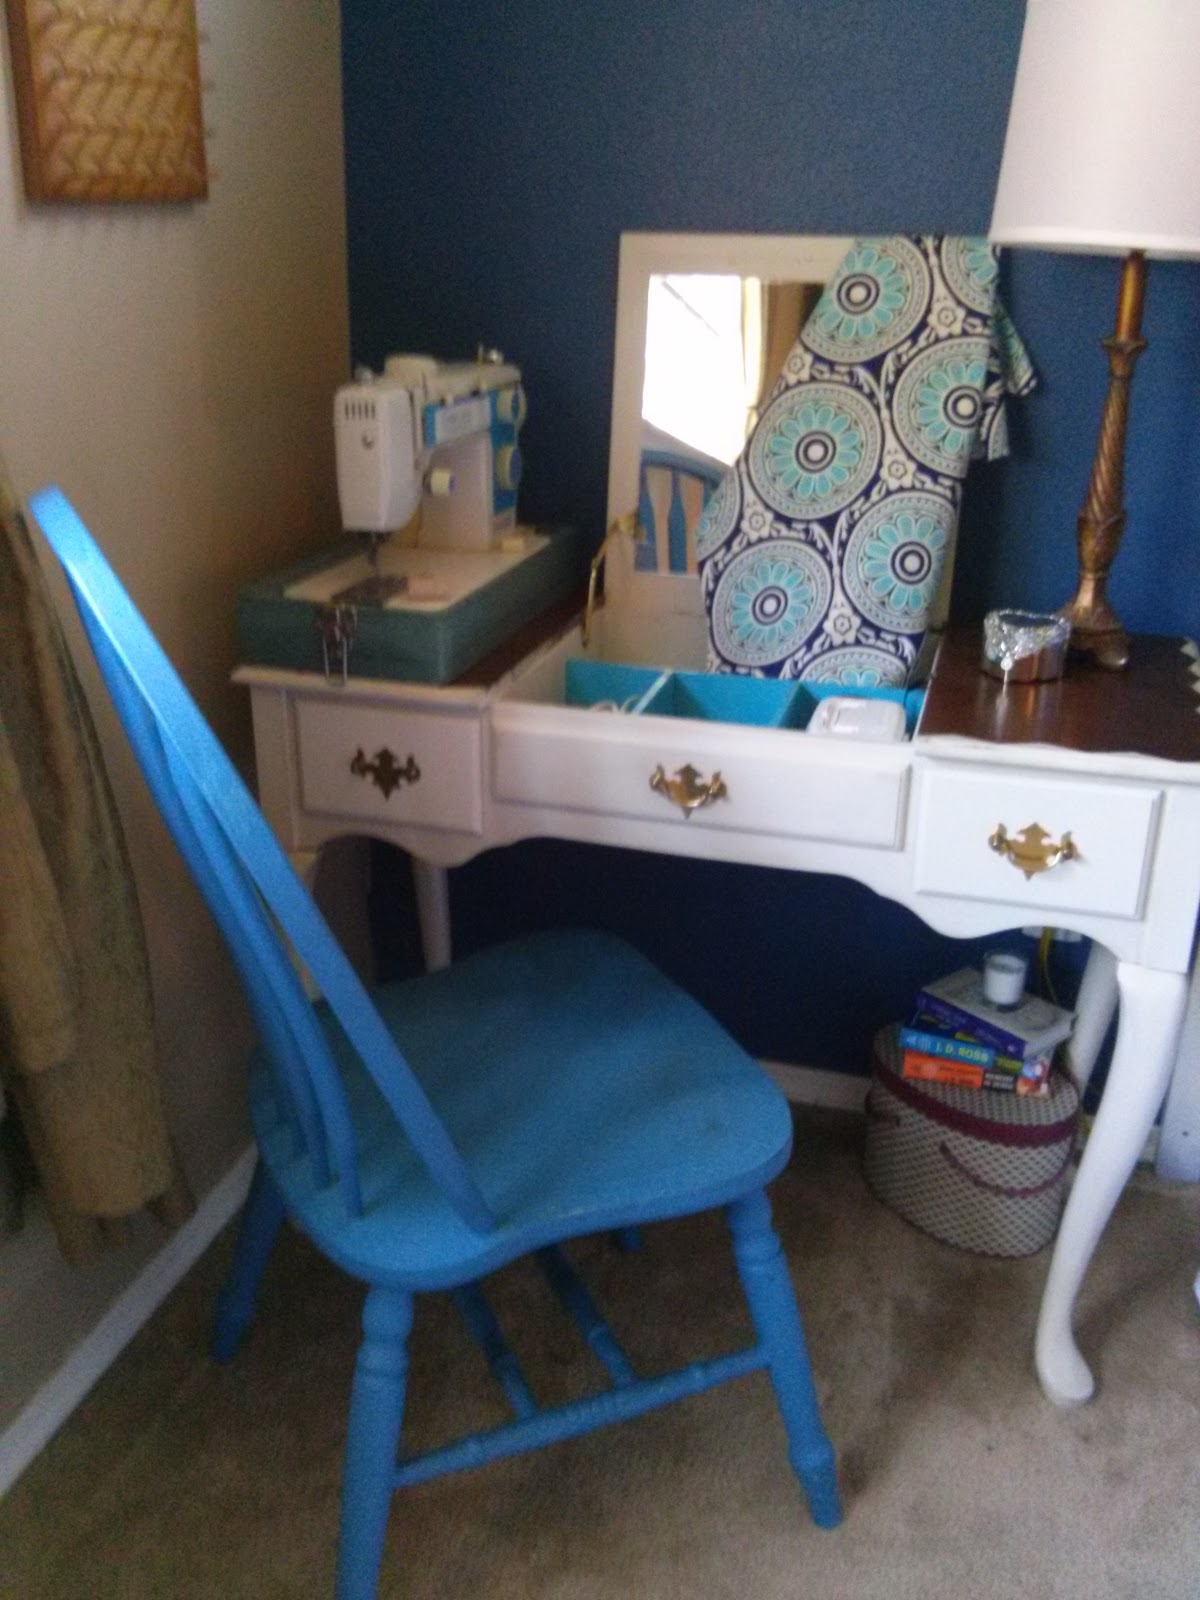
I finished this piece off, as I do with so many, with Minwax clear finishing wax all over the top and frame. I want the legs to get a little wear on them before I seal, but I did not want the more uniform look I'd get from sanding. This table serves as my nightstand, sewing and craft table, so the wear pattern will look much different than usual.
Here she is, the multi-tasking beauty!
 |
| That chair was an Ooops from way back. Just a happy accident that it looks fabulous in our room! |
 |
| I forgot to mention the inside! I painted it my favorite color, so I'd smile every time I open the top. |


No comments:
Post a Comment
Gimme some love and tell me what you think! No really, I can take it. I'll just double-up on those anti-depressants first.
I may not be able to reply back quickly (I am a mom after all), but I read each and every word you type!